| |
| Home |
| Instructions |
| Software |
| Animations |
| Text |
| Share |
| Multi-Panel |
| F.A.Q. |
| About us |
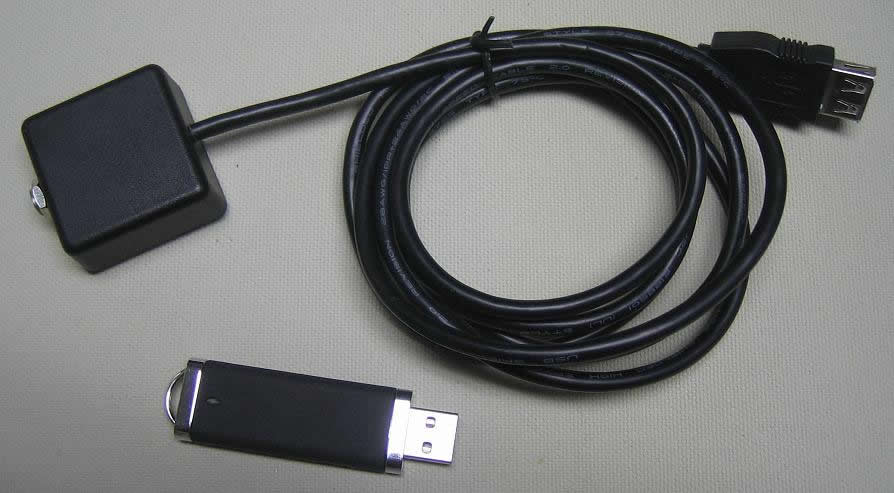
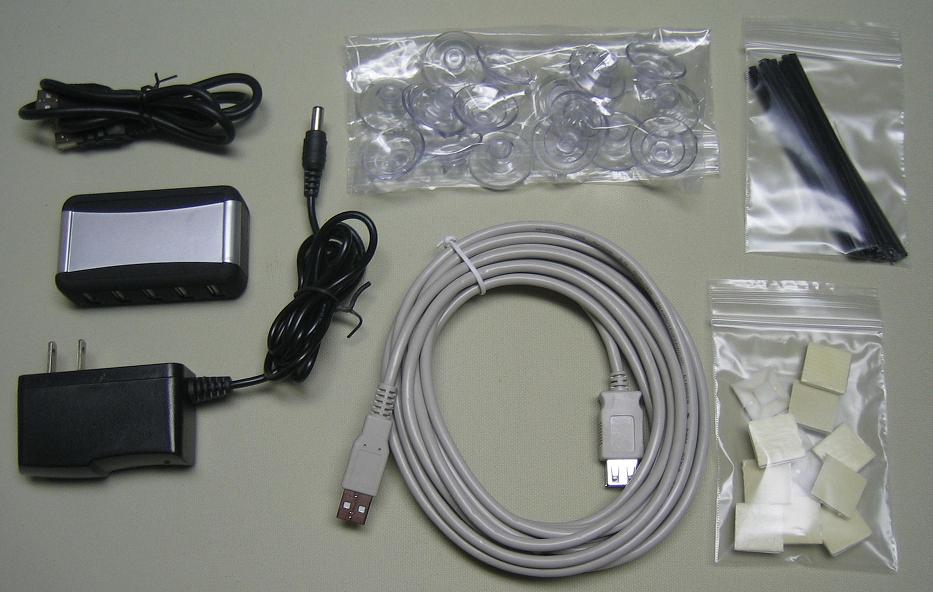
| MULTI-PANEL DISPLAY | ||||||||||||||||||||
|
||||||||||||||||||||
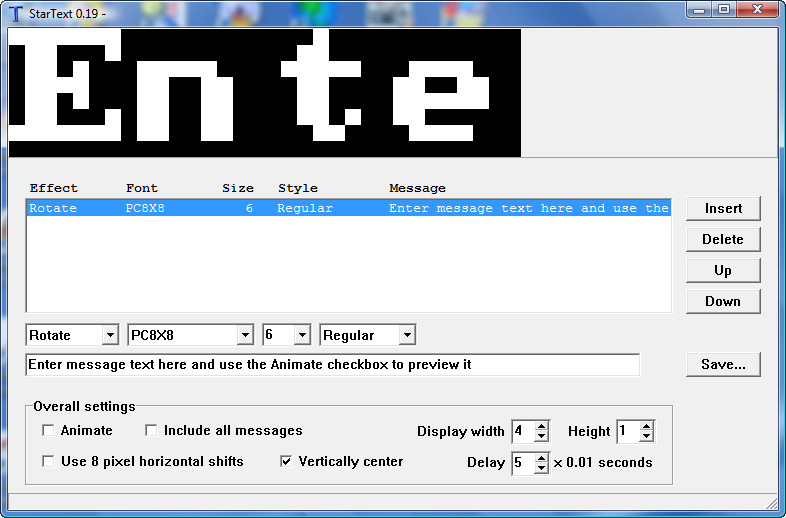
MULTI-PANEL ANIMATIONS |
||||||||||||||||||||
For creating multi-panel animations we recommend using JASC Animation Shop. For example, if using 2x2 panels to create a 16x16 pixel display use the following steps:
|
||||||||||||||||||||
Copyright © GorKo Systems Inc. and PixSoft Inc. All rights reserved. |
||||||||||||||||||||